Technical insights 05/29/2024
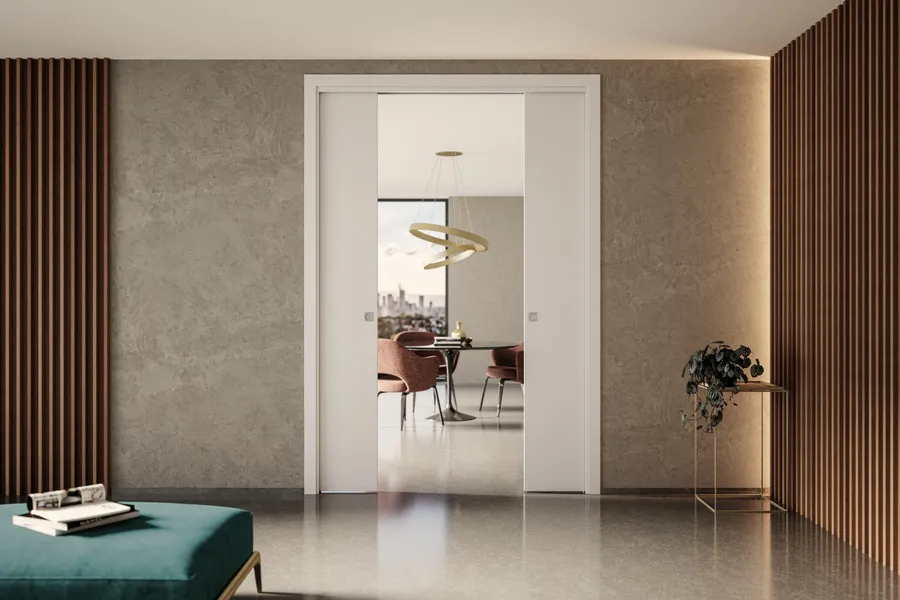
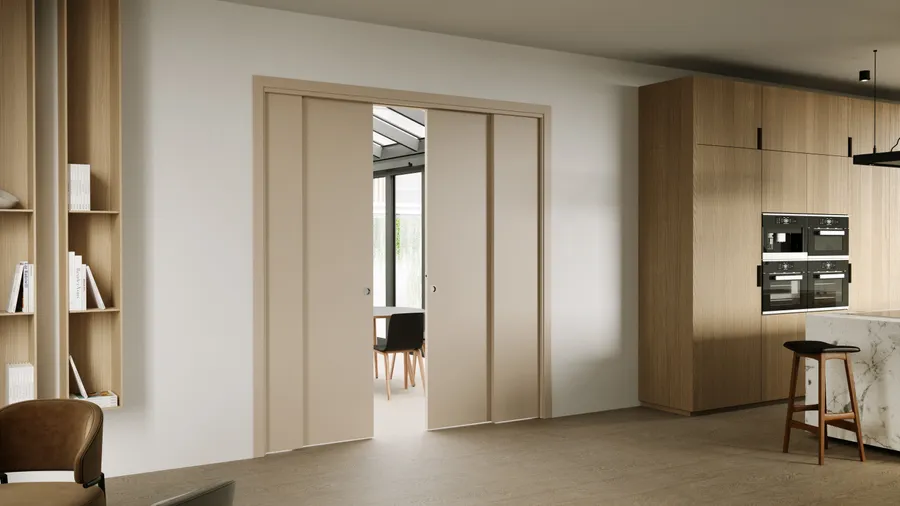
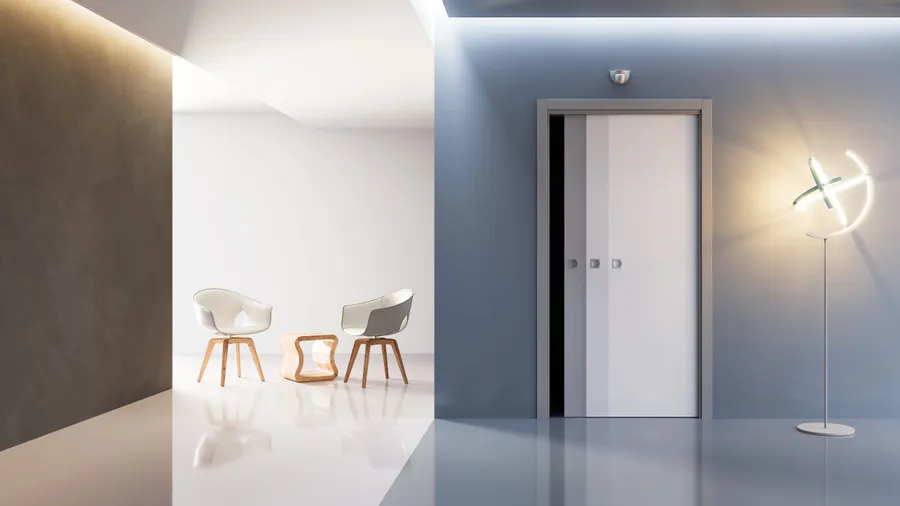
How to install a sliding pocket door system for plasterboard walls

Let’s find out how to install a sliding pocket door system for plasterboard walls
Installation of the EVOLUTION counter frame | plasterboard version
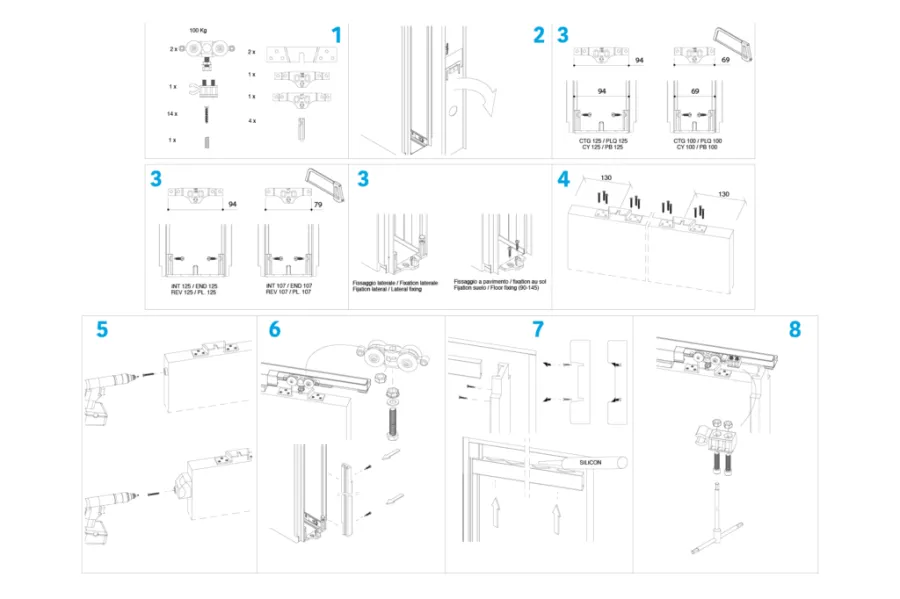
ASSEMBLING THE PRODUCT
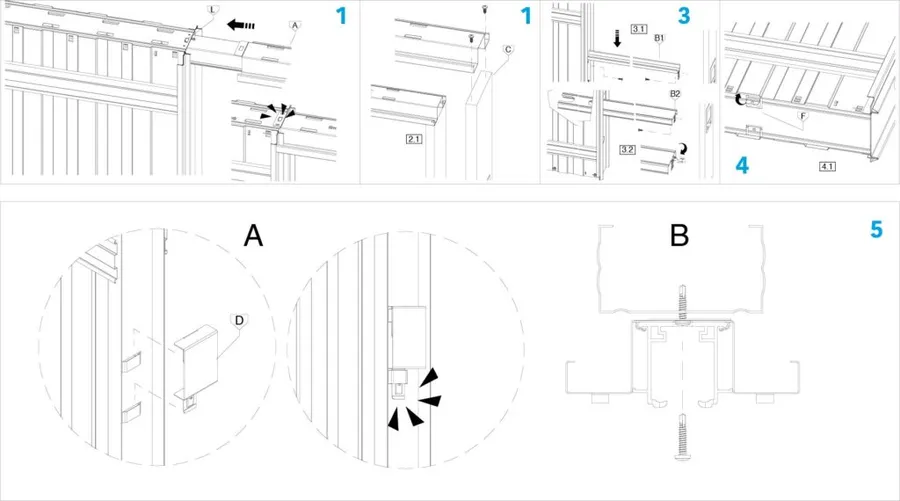
- Insert the sliding crossbar (A) inside the box until the tab (L) clicks.
- Position the sliding crossbar (C) and block it with the supplied screws (2 self-tapping screws Ø4.8×17) (See Part. 2.1).
- Secure the upper (B1) and lower (B2) spacers with the screws provided (4 self-tapping screws Ø4.8×17), which are necessary to maintain the width of the passageway (see Part. 3.1 and 3.2).
- Use the lower guides to fix it to the floor
- Apply the plasterboard supports
POSITIONING THE COUNTERFRAME
New construction:
Create support points at the exact height of the finished floor and install the counter frame.
Existing floor:
Position the counter frame directly on the existing floor. Use the “F” points to fix the structure to the floor (see part 4.1).
New construction:
Create support points at the exact height of the finished floor and install the counter frame.
Existing floor:
Position the counter frame directly on the existing floor. Use the “F” points to fix the structure to the floor (see part 4.1).
ATTENTION
Position the counter frame perfectly aligned with the ground surface.
DO NOT MOUNT THE BOX HIGHER THAN THE FINISHED FLOOR.
Position the counter frame perfectly aligned with the ground surface.
DO NOT MOUNT THE BOX HIGHER THAN THE FINISHED FLOOR.
Once the counter frame is in place, the door can be installed.
Ermetika’s systems are suitable for either wooden or glass doors. The instructions below refer to a wooden door.
Ermetika’s systems are suitable for either wooden or glass doors. The instructions below refer to a wooden door.
- Check that all the components of the track kit for 100 kg capacity are inside, i.e.: 2 trolleys with 4 wheels, 2 brackets, 2 self-centering door guides with vertical sticks, front doorstopper, screws and bolts.
- Remove the front closure profile of the pocket and take out the accessory box positioned inside
- Fix the self-centering guide to the floor or to the side of the pocket, depending on the thickness of the wall (fig. 3)
- Fix the brackets to the door panel with the screws provided.
- Fix the rear bumper to adjust the door’s movement.
- Assemble the trolley kit on the track.
- Adjusting, cutting and fitting the vertical finishing elements and rebates (jambs and architraves). Insertion of the sealing brushes on the door’s perimeter and positioning of the horizontal frames
- Positioning of the door stopper for closure. It is possible to adjust it according to your requirements.
Finally, it is necessary to install the handle and its lock on the door.
If you need to find out more about how to install a sliding pocket door system for plasterboard walls, watch the tutorial on Youtube.