Technical insights 09/16/2026
How to install door frames and architraves: a practical guide to fitting them
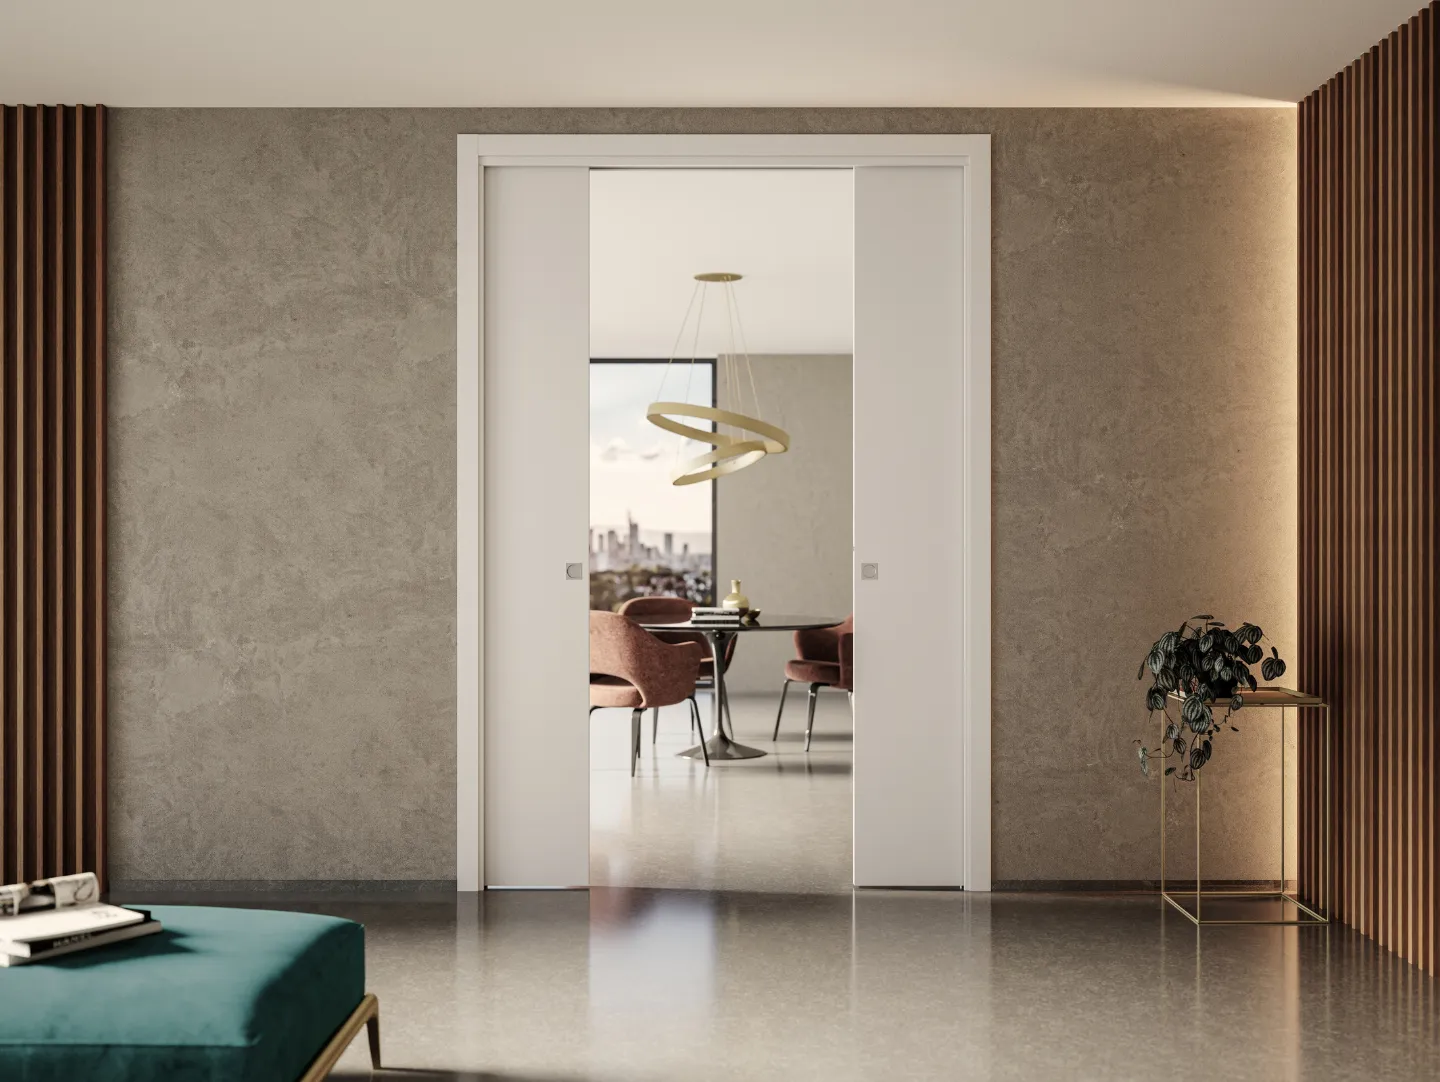
Fitting door frames and architraves is the technical process that transforms a simple opening into a well-finished architectural feature. Even the most elegant door loses some of its charm if fitted inaccurately: a gap that doesn’t close properly or a misaligned corner will remain visible over time, compromising the quality of the chosen product. Fitting requires millimetre precision, attention to detail and a good understanding of the tools. In this guide, we’ll take you through the entire process of installing door frames and architraves, helping you understand when you can do it yourself and when it’s best to call in a professional.
What you’ll learn in this article:
- How to choose between doing it yourself and hiring a specialist fitter;
- What tools and materials you need for a flawless installation;
- The stages of installation, explained step by step;
- The most common mistakes to avoid for a perfect finish.
DIY or a professional fitter: how to choose
Before you begin, it is essential to assess your skills honestly. Fitting door frames leaves no room for approximation: a small cutting or alignment error, however seemingly insignificant, becomes obvious as soon as light hits the surface.
When to call in a professional
An experienced fitter guarantees a flawless result, especially in the most delicate situations. We recommend consulting a qualified fitter when:
- The walls are uneven or out of square, requiring bespoke adjustments;
- You have chosen bespoke solutions or non-standard dimensions;
- You want the assurance of a professional finish, with no margin for error.
An expert’s eye can identify imperfections in the masonry and correct them with precision, ensuring a perfectly aligned installation.
Francesco’s advice
If the measured thickness exceeds standard widths or is uneven, opt for a bespoke solution: this ensures precise coverage and continuity with door jambs, skirting boards and architraves. Also, wait until the plaster has fully settled before installation to avoid detachment and inaccuracies in the fit.
When DIY is a viable option: fitting door jambs and architraves yourself
Fitting door jambs and architraves yourself is a viable option for those already familiar with cutting tools and small carpentry jobs. DIY architrave fitting yields the best results when:
- The walls are even and perfectly square;
- The door frames are standard, requiring no special adjustments;
- You already have experience using saws and spirit levels.
If this describes you, with the right care you can achieve a neat and satisfactory installation. In this regard, discover Ermetika’s full range of doors with door frames and architraves.
Tools and materials required
A flawless installation starts with preparation. Before you begin, make sure you have the right tools to hand – they are your allies in achieving precision.
- Mitre saw or circular saw: essential for making 45° cuts on the joints, a key element of an elegant installation;
- Spirit level, tape measure and set square: these ensure correct alignment and perfect verticality, preventing unsightly misalignments;
- Vinyl adhesive or hidden nails: the fixing method should be chosen according to the material, to ensure a secure and invisible fix.
A valuable tip: set up a stable and well-lit work surface. The quality of your working environment directly affects the precision of the final result.
The installation phases, step by step
Here is the crux of the guide: the installation process, broken down into four key stages. Follow each step carefully, as each one paves the way for the success of the next.
Step 1 – Measuring and cutting to length
Measure the door opening accurately, checking the height and width at several points. Transfer the measurements to the door jambs and architraves, then cut them to the correct length. Remember: measure twice, cut once – that’s the golden rule for any good fitter.
Step 2 – Cutting the corners at 45°
For a clean joint at the corners, cut the corners at 45°. This is the detail that distinguishes an amateur installation from a professional one: the corners must fit together perfectly, without gaps or overlaps. Take your time, making the most of the precision of the mitre saw.
Step 3 – Fixing the door jamb
Fix the door jamb to the frame or sub-frame, constantly checking that it is level using a spirit level. Ensure that each side is perfectly vertical and aligned with the wall. Even fixing is the basis for a stable and long-lasting result.
Step 4 – Fitting the architrave and finishing touches
Understanding how to fit the architrave is the final, decisive step. Fit the architrave to cover the joint between the frame and the wall, ensuring the profiles fit together perfectly. Complete the job with the final finishing touches, eliminating any minor imperfections. It is at this moment that the fitted architrave reveals its full elegance, bringing order and harmony to the entire room.
Common mistakes that compromise the aesthetic result
Even the most careful installation can be ruined by a moment’s inattention. Knowing the most common mistakes will help you avoid them deliberately.
- Inaccurate cuts at the corners: a poorly executed 45° joint leaves visible gaps as soon as the piece is fitted, compromising the overall appearance;
- Failure to use a spirit level: working ‘by eye’ leads to misalignment with the wall, which is difficult to correct once the installation is complete;
- Uneven fixing: irregular fixing can, over time, cause pieces to come loose and produce annoying creaking noises;
- Ignoring wall settlement: on fresh plaster, the masonry is still subject to movement. Installing too early can lead to cracks appearing after fitting. Always wait until the wall has fully stabilised.
Avoiding these mistakes means preserving the beauty of your work over time; it is also important to know how to choose the correct architrave size and finish.
Precision and care: the secret to a flawless installation
Fitting door frames and architraves is an art that requires precision, care and patience. Every cut, every alignment, every finish contributes to a result that exudes elegance and craftsmanship. Whether you choose to do it yourself or hire a specialist fitter, the key remains the same: the pursuit of perfection in the details.
Before you begin, save this guide for reference and make sure you have all the tools to hand. Be inspired by Ermetika’s door and jamb solutions and discover how a meticulous installation can complement your spaces with refinement and harmony.
Before you begin, save this guide for reference and make sure you have all the tools to hand. Be inspired by Ermetika’s door and jamb solutions and discover how a meticulous installation can complement your spaces with refinement and harmony.